
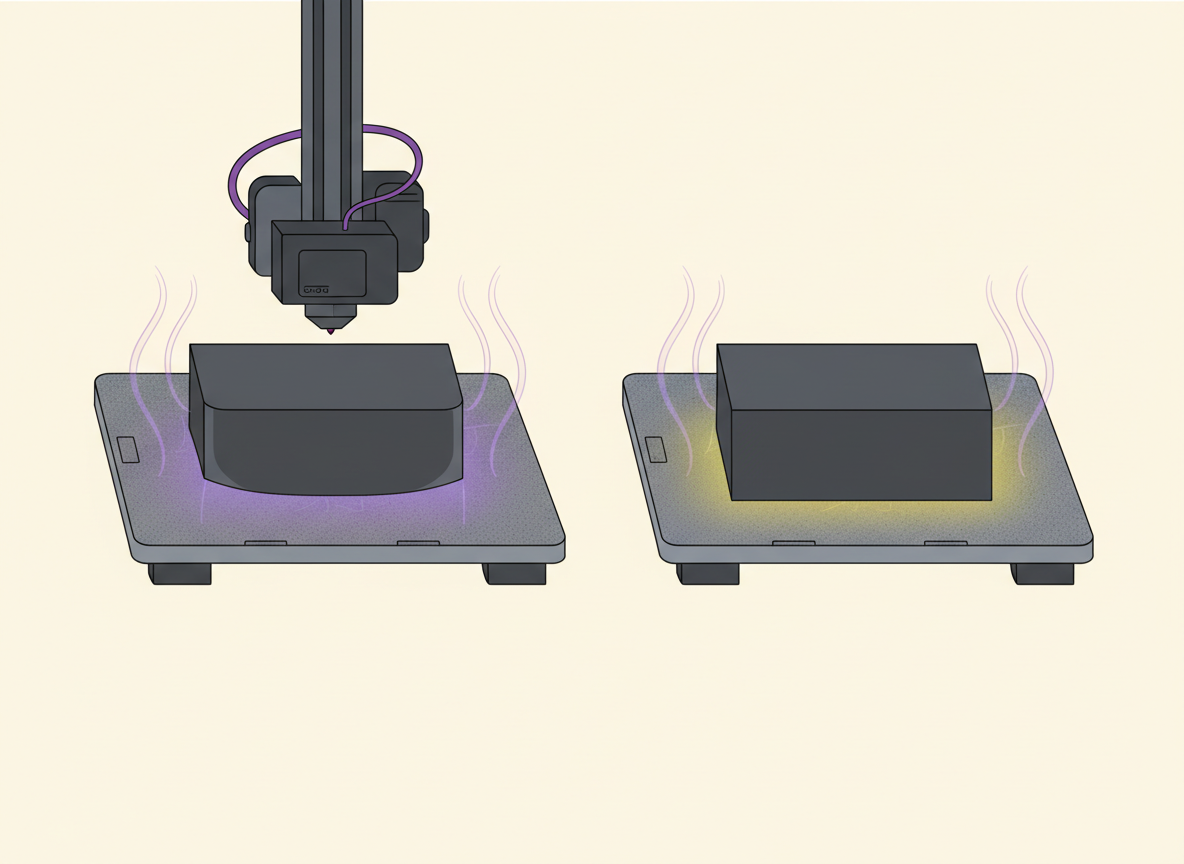
WARPING DIAGNOSTIC REPORT
Warping usually points first to thermal shrinkage, first-layer adhesion and ambient conditions—not moisture. Lifted corners are a thermal/adhesion problem until other evidence says otherwise.

CHECK IN THIS ORDER
01 · Material
Higher-shrinkage polymers need more thermal control.
02 · First layer
Surface cleanliness and correct squish resist lifting forces.
03 · Ambient
Drafts and cold air increase uneven contraction.
04 · Cooling
Fan strategy must match the material.
Cause matrix
| Pattern | What to investigate first |
|---|---|
| ABS / ASA / PC corners lift as print grows | Thermal shrinkage, enclosure and ambient stability |
| Warping starts from a weak first layer | Surface cleanliness, Z height and bed temperature |
| Problem worsens near window / AC | Drafts and ambient temperature |
| Engineering material warps with strong fan | Material-specific cooling strategy |
| Lifted corners plus popping / bubbles | Thermal causes first; moisture can be a separate issue |
SOURCE-BASED PRIORITY
Prusa explains that higher-temperature materials such as ABS, ASA and PC blends can warp more because the temperature difference between deposited plastic and surrounding air creates stronger shrinkage forces. Stable ambient temperature and an enclosure are often useful for materials that need them.
Useful test order
- Confirm the correct material profile and bed temperature.
- Clean the print surface and inspect first-layer squish.
- Remove cold drafts and stabilize ambient temperature.
- Check cooling for the specific material.
- Use a brim or enclosure when appropriate for the polymer and geometry.
- Only move moisture higher on the list if independent moisture clues are present.
Lifted corners are weak evidence of moisture.
Investigate thermal shrinkage and first-layer adhesion first unless popping, bubbling or other independent moisture clues appear too.
Prusa — Warping · Prusa — Enclosure guidepost · Prusa — Cooling. Checked September 13, 2026.