
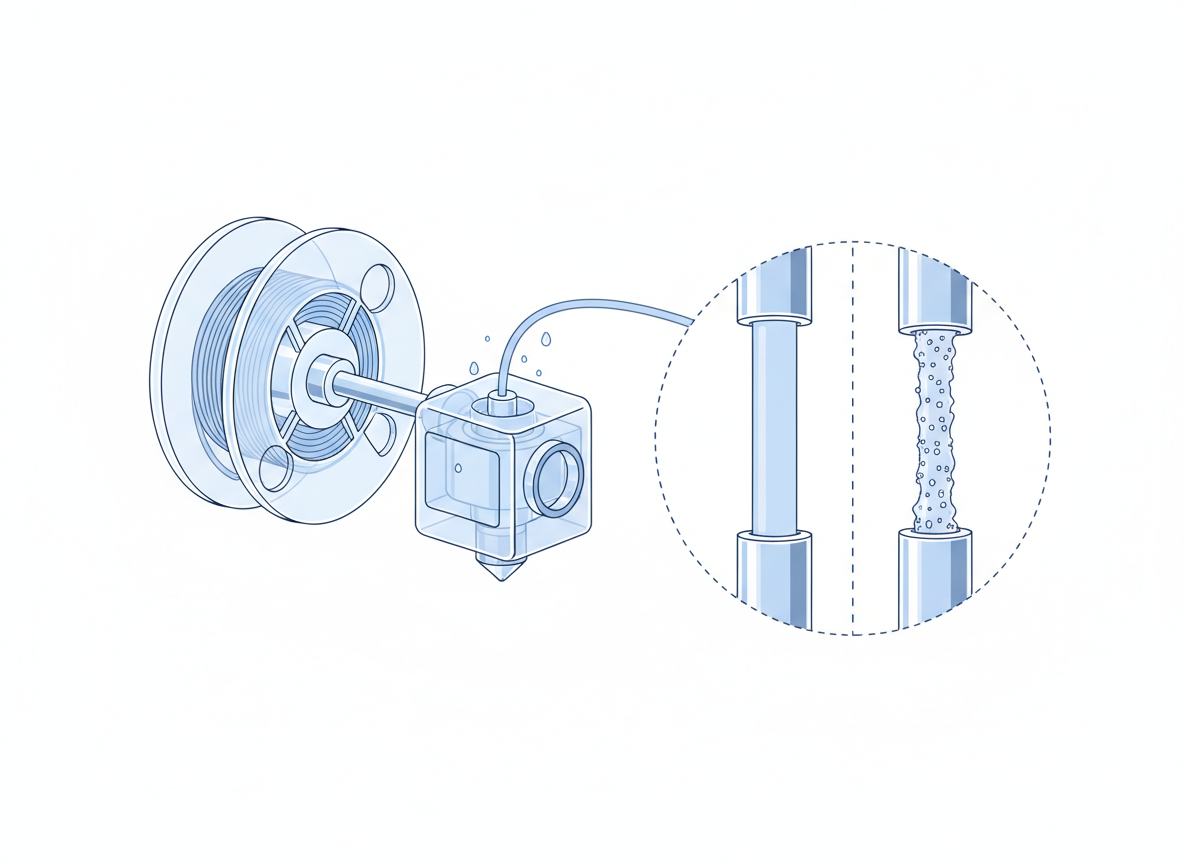
CONFIRMATION TEST REPORT
Before you dry a spool, collect evidence. These three tests are designed to decide whether moisture deserves the next experiment—not whether one defect merely looks wet.
3-TEST FRAMEWORK
01 · History
Does the material and storage history make moisture plausible?
02 · Extrusion
Do sound and strand behavior show multiple moisture-linked clues?
03 · Before / after
Does the same test improve after product-appropriate drying?
Test 1 — Spool history
| History clue | Effect on moisture hypothesis |
|---|---|
| Long exposure to humid room air | Raises it |
| Highly moisture-sensitive material | Raises it |
| Sealed storage with maintained desiccant | Lowers it |
| Problem began immediately after nozzle/profile change | Lowers it |
| Same profile gradually became worse | Raises filament-condition suspicion |
Test 2 — Controlled extrusion
Stronger moisture pattern
Popping + bubbles or rough extrusion + credible exposure history.
Alternative-cause pattern
Stringing only, or clicking / thin extrusion without moisture clues—check tuning, clogging or feed resistance first.
Test 3 — Before/after drying comparison
| Result after appropriate drying | Interpretation |
|---|---|
| Popping / bubbles reduce clearly | Strong support moisture was contributing |
| Surface / extrusion consistency improves | Supports a filament-condition cause |
| Stringing improves but remains | Moisture may have contributed; tuning can still matter |
| No meaningful change | Move to alternative causes instead of repeatedly drying |
CONTROL RULE
Do not change everything at once
If you dry the spool while also changing temperature, retraction, speed and flow, the comparison is no longer useful. Change one meaningful variable, then retest.
Quick decision
Dry next: exposure history and strong extrusion clues line up. Diagnose something else first: only stringing, a recent hardware/settings change, or strong clog/feed-path evidence.